Velveteen is a tricky fabric to work with but -oh! - so gorgeous. I love it for all sorts of projects: Christmas stockings, crazy patch quilts (above), clothing, purses....the list goes on.
But...it's...tricky....and...finicky. So there are a few rules to working with this wonderful, elegant fabric.
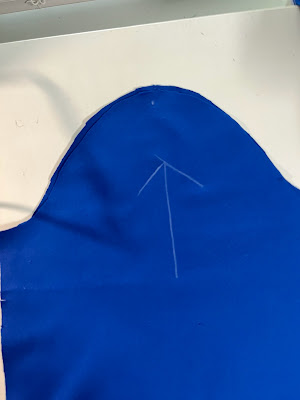
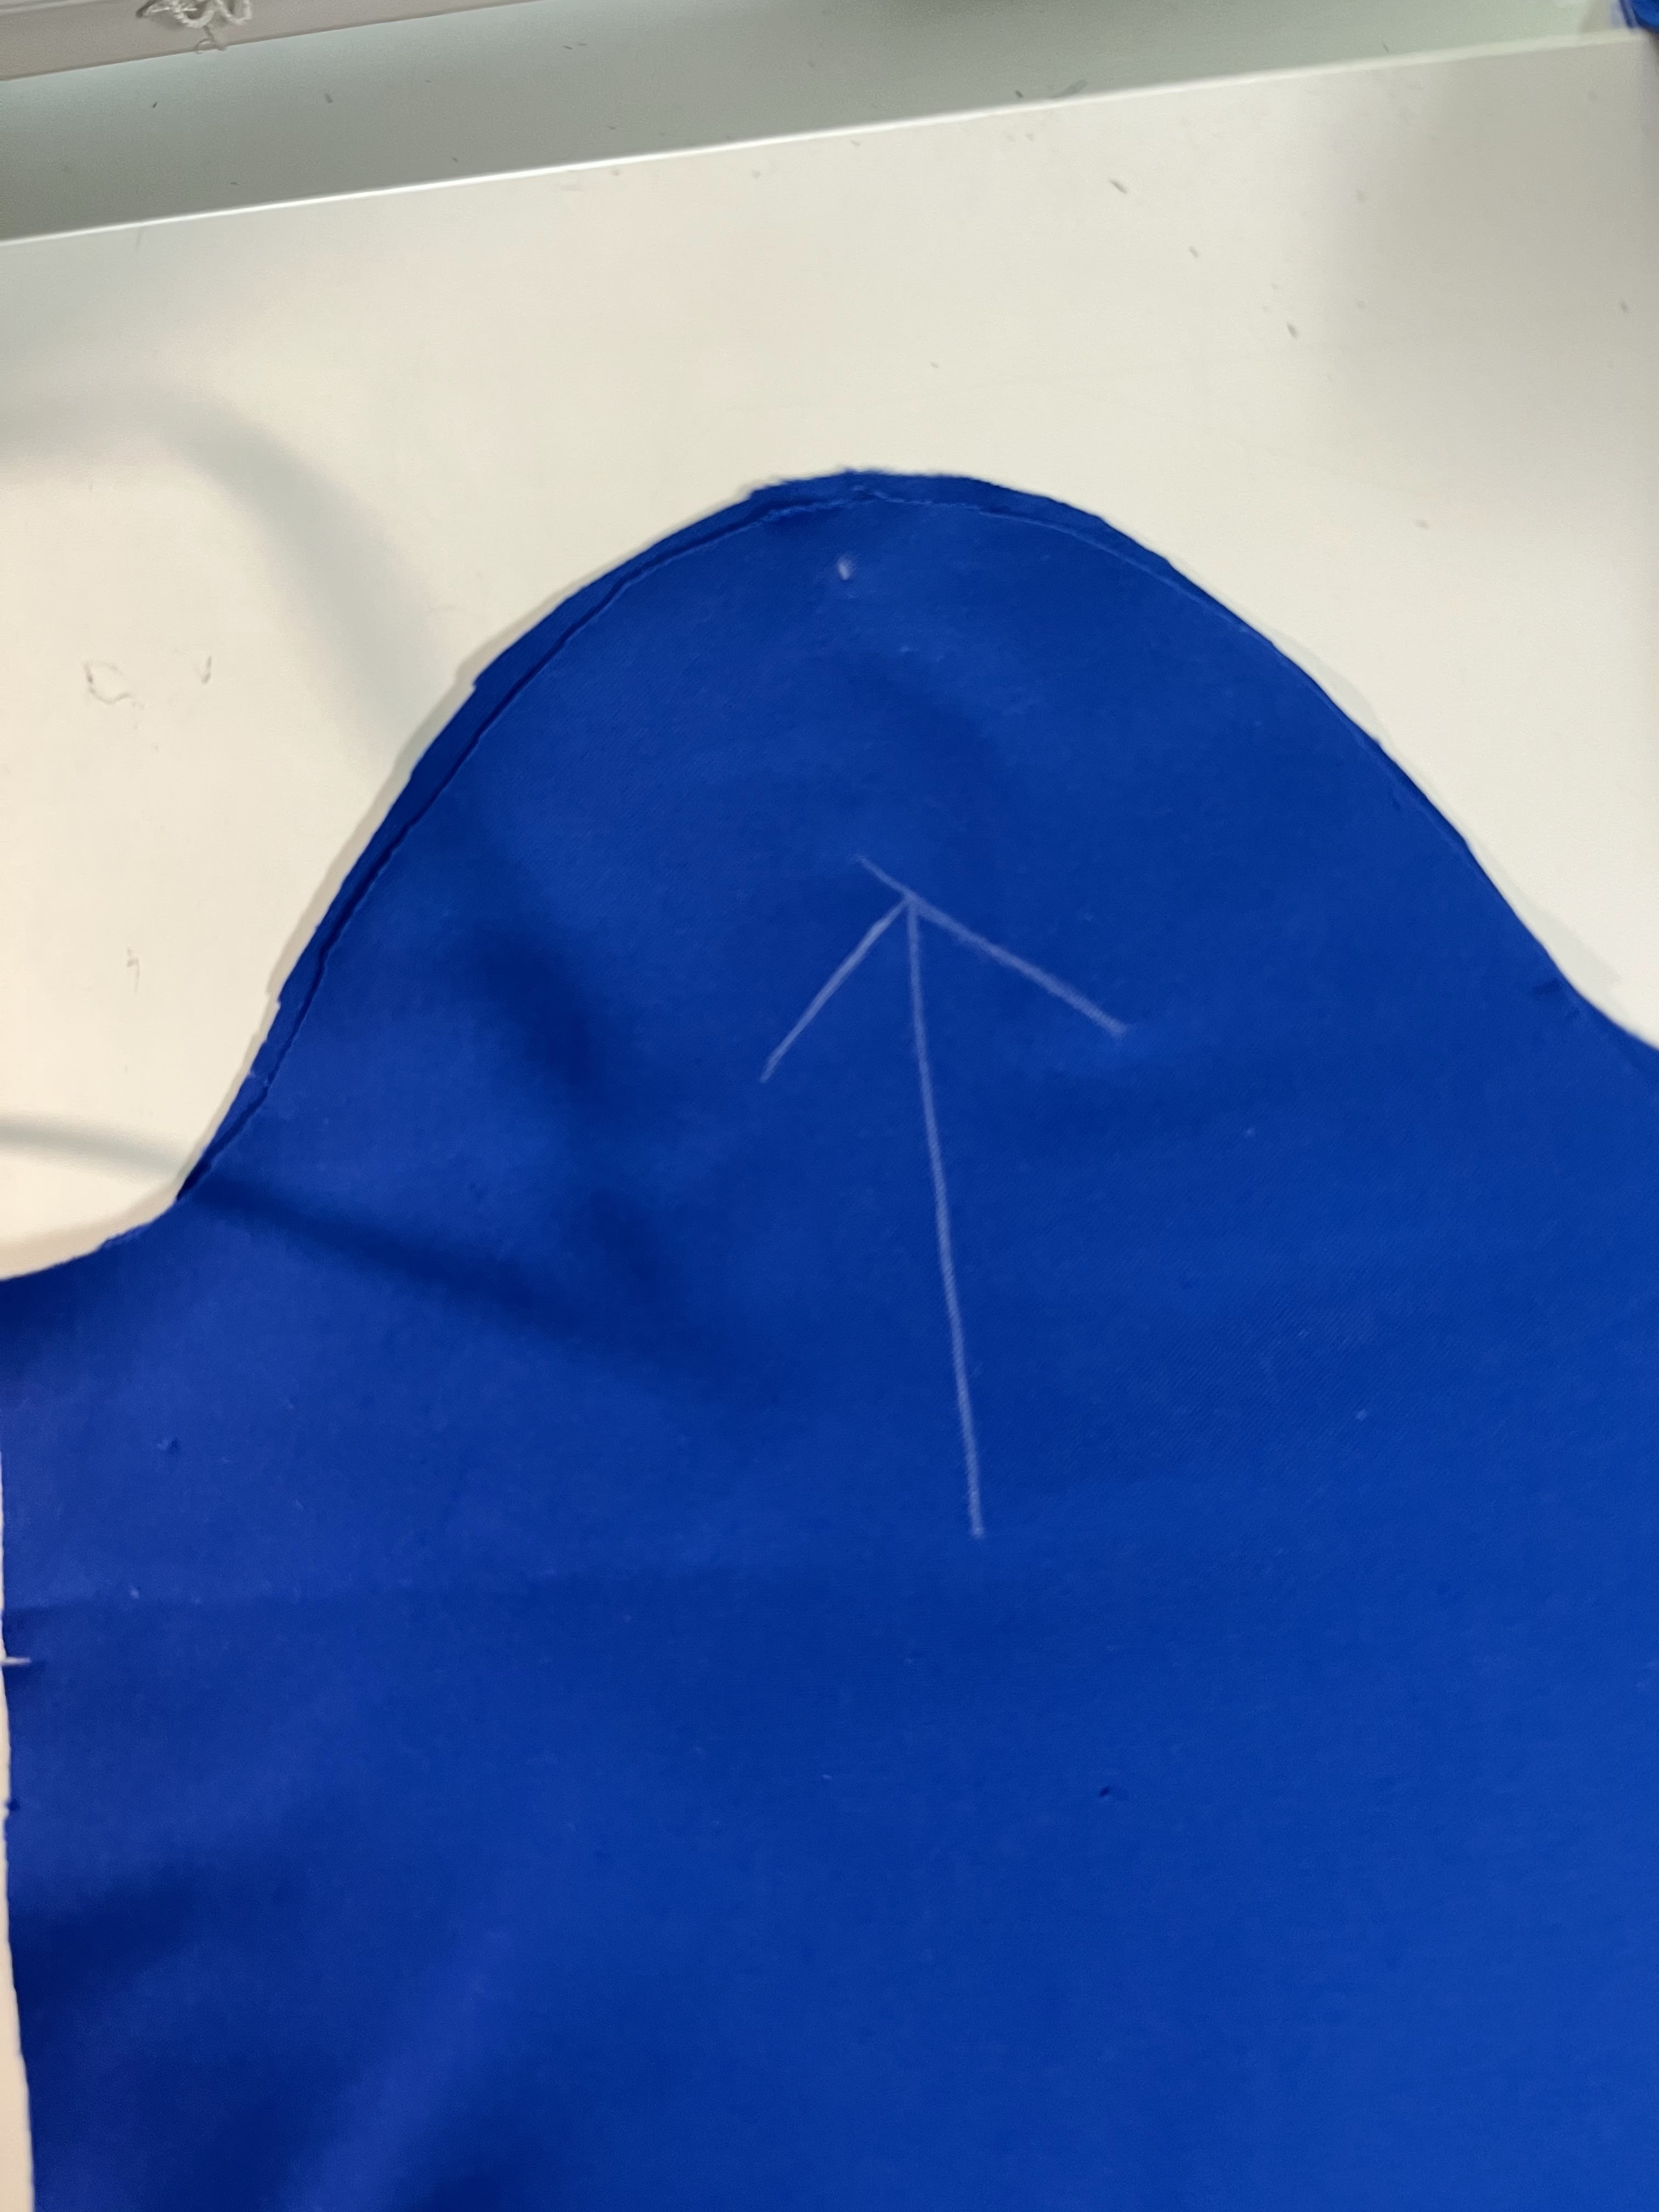
#1 Nap. Yup, that fuzzy stuff that can make or break a layout. One direction the velvet looks cool and brooding, the other direction it's rich, dark and mysterious. So you gotta decide which way you want your garment to lay on the fabric. I found out the hard way in high school...a corduroy jumper (another napped fabric). Yep, I had it rich, dark and mysterious on the front, and cool and brooding on the back. Maybe I was channeling those difficult teenage years? So decide which direction to lay out your pattern pieces. I also found it was very helpful if I lightly marked the wrong side of the fabric with a chalk marker with an arrow pointing to the layout direction. Big arrows.....
#2 Layout: Besides laying the pieces out in the direction you've chosen, pinning the pattern pieces doesn't work really well because of the thickness of the nap and "nap creep". Nap creep is the two different layers moving against each other almost involuntarily because of all those fibers sticking to the plush surface. The pattern wrinkles and moves as you pin. The solution?: pattern weights. Lots of them. It really does help. If you want to make some check my post here.
#3 Sewing: Yes, you guessed it again....that little devil nap causes problems with creeping seams. My solution is to pin FREQUENTLY at a 90 degree angle to the seamline. This keeps the creep from happening as you stitch the seam. Use very fine pins and keep them in the seam allowance to avoid marking the garment side of the fabric. Always do a sample first on the machine to check stitch length (about 2.5mm is good) and tension. Use an even-feed or roller foot, and slightly loosen tension.
#4 Pressing: Pressing matters....nap can get crushed so steam pressing, not ironing (there is a difference) is best done on a needle board or over a thick bath towel with the nap facing into the board/towel. A needle board can be actual needles , a wire needle board.
Other velvet needle boards are more like the soft side of velcro (not the hook side). I found mine at a thrift store still in it's original packaging.
#5 Details. I like to use a Universal 80/12 needle and
DMC 50wt Machine Embroidery Cotton Thread (which is more like a 60 weight thread) for sewing the garment together. A simple zigzag works for finishing the seams (I do not have a serger). Light weight linings work well with cotton velveteen. Seam binding works really well for the hem, avoiding extra thickness of a turned under edge that is hand hemmed. I still hand hem but the light weight seam binding allows me to carefully and lightly hand hem. Pins can cause marks, so I am extra careful to use very fine pins on the hem, or anywhere on the dress when constructing.
#6 Facings and interfacings. Always, always make a sample first to test any fusible interfacings, which are normally applied to the racings and not the garment. If need be, insert a sew-in facing if the fusible does not give the desired result.
#7. Lint Roller...yes, you read that right, a common lint roller. The velveteen pesky "fluffs" float everywhere from the cut edges and all over the sewing table and floor. I run that roller over the surfaces and the rug, even the finished sewn item to keep the fluffs under control.
In a nutshell, velveteen requires some special techniques but the results are definitely worth the extra time and effort. What am I making with it, you ask? Can't share that just yet.......
Happy Stitching!!


No comments:
Post a Comment
Send me your comments and thoughts..I would love to hear from you!