Life is indeed a stitch!
Berryhill Heirlooms and Susie Gay present techniques, heirloom sewing, hand embroidery and other musings. Come and join in the fun with Susie, a Home Economist, and savor a little rest from your hectic day...and yes, it's a Degree she uses every day!
Showing posts with label Smocking Arts Guild of America. Show all posts

Wednesday, August 10, 2022

Reticule Kits

More kits, more fun for the Smocking Arts Guild of America National Convention in October! My Purse Reticule Kits are loaded with goodies and take quite some time to gather and kit up. But I LOVE playing with all the colors. But first, the word "reticule"..what the heck is it? A reticule was a small drawstring bag carried as a purse by a woman in the 18th and 19th centuries. It is also used as a synonym for any kind of purse or handbag carried by a woman. Nowadays, reticule mostly means some sort of bag that has assorted sewing and embroidery implements stored inside.

The inside of my Purse Reticule case carries just about anything you'd need for your stitching needs....lots of pockets, a pincushion, emery, scissor case and a needle book.
The one pictured is the first one I made. It's held up well through all the handling it's received through the many classes. But I ordered some really great fabrics for this next batch of kits. 

Look at those color combinations!! Several would look wonderful with the black silk duping at the bottom of each picture.


The prints go on the inside, and silk on the outside. All is embroidered with silk ribbon work and beads and the possibility of so many gorgeous color combinations for the ribbons and beads....Oh My!
It's going to be fun putting these together in the next few weeks.
Happy Stitching!


Thursday, September 24, 2015

Volunteer Sewing

I don't know about you but I do some volunteer sewing. Volunteer sewing to me can be several things: helping a neighbor or friend learn something new about sewing or embroidery, making a garment to give away or doing alterations for free. Volunteer sewing can mean many things. Since I'm a member of the Smocking Arts Guild of America (SAGA) I make Wee Care  items that our Guild donates to local hospitals. Smocked or embroidered Wee Care gowns and bonnets are sometimes the only things that a couple takes away from the hospital...a remembrance of the life they hoped to bring home. As SAGA members we also make blankets, remembrance envelopes and booties. Since SAGA is a non-profit organization, members freely donate their time and talents to make Wee Care items and keep their sewing and stitching skills sharp and optimal.

I've also donated time to help alter costumes for our local, and very successful, Smithfield Little Theater productions. I don't do it very often because of my busy schedule, but I enjoy it when I can help out.

My latest endeavor is making  historically correct men's colonial clothing for our local 1750 Isle of Wight Courthouse in Smithfield, VA. Among other fundraising venues, we always put on a play highlighting a case from the actual surviving Isle of Wight legal records of the 18th century. Yes, we still have those big leather bound books with the incredible cursive writing that can be viewed at the new Isle of Wight Courthouse buildings, and they are amazing to see in person. Our plays always feature the 12 Justices (elected or appointed important citizens of the day) sitting on their row of seats in the Courthouse presiding over a court case. But not all of the volunteer actors have the appropriate costumes... the Colonial Coats and Waistcoats, breeches, linen shirts and stocks, and wigs. That's where I come in.

The local Board of the Courthouse, of which I am a member, helps dress our volunteer actors, and most of us also have our own Colonial clothes so we can fill out the Courtroom and also dress appropriately for other fundraising occasions. Here I am serving punch at one of our Christmas meeting and reception for our members.
But historically correct Colonial costuming is VERY expensive....unless you can make your own, or make it for someone else for free or a nominal fee. The Courthouse has been able to build up a small collection of men's and women's Colonial clothing but occasionally we get a volunteer we can't supply clothing to. That's where I come in.

This week I am making a Colonial Frock Coat and Waistcoat for a gentleman. I already have the historically correct patterns (I'd made another set two years ago). This person is larger from what I have done before so I had to trace off the pattern pieces from the master pattern onto tissue paper. It took two hours to do it all because the pattern pieces are large and don't fit on regular tissue paper (lots of scotch tape used). The pattern pieces also did not have some of the grain lines on them so I had to figure those out, too.

I've done enough Colonial clothing to know what fabrics could work. I was able to purchase some really nice camel colored wool for the two items, and then I bought pre-shrunk basic cotton muslin for the lining for both the coat and the waistcoat. This outfit is for a person of modest wealth and for everyday use. The Colonial clothing patterns are VERY different from what we sew today so it takes some getting used to to figure out the directions, especially for this particular pattern (which is very short of instructions and has no pattern/fabric layouts). I had "leftover" pewter buttons (from previous Colonial construction projects) in both sizes needed for each item....back then men showed off their wealth by the number and type of buttons on their clothing. The coat takes 24 buttons, the waistcoat 16! Many times the buttons didn't even actually button into a buttonhole....they were there just for looks and to impress others.

So here is the final product for our Courthouse Play production this year.


The waistcoat (basically a man's vest) is worn buttoned up over the shirt. The buttons below the pockets flaps are purely for decoration.


Here is the frock coat. It doesn't look like much on the hanger, but this is an extra large and the hanger isn't really big enough. The buttons down the front are again purely for show, as are the "buttonholes" on the other front side. There are no pockets under those pocket flaps, either. The back has one split in the center, and a  double box pleat on each side, also decorated with buttons. This gentleman will wear a wig, typical of the era, that we maintain at the Courthouse, along with a white linen shirt and stock. (Linen was much cheaper than cotton back them.) And he'll have black shoes with buckles on them. A regular Justice of the Courthouse and 1750 community back then. So that's my "volunteer sewing" for this month.
What's yours?

Sunday, May 31, 2015

Little Hints

After sewing and stitching for so many years, I've begun to realize a few things:  sometimes there are better ways to do things and nifty ways to use items rather than their normal use. Here are a few little hints from found items. And occasionally there's a surprise!

My surprise was an old pincushion...you know, that ubiquitous tomato pincushion with the little strawberry dangling from it? One day I was using it while sewing up some smocked dresses and I saw that the stuffing was running out of the pincushion. The "stuffing" was sawdust, all over my table. It was time to pitch the pincushion but a little light bulb went on inside my head and I thought maybe I should check what might have disappeared into the center of the pincushion before I trashed the little guy. So I cut it open and dumped the contents onto a piece of newspaper....Lo and behold I found 53 needles that had been buried inside of it. Guess I didn't have to buy any needles for awhile!

This past week I was pinning dress underlining pieces to dress fashion fabric pieces and ran out of pins from my beautiful wool pincushion (a table favor from a Smocking Arts Guild of America National Convention). Again, the light bulb went on (I must have one of those CFL light bulbs in my head) and I thought I would find out if there was anything stuck in this one. After much squeezing, poking and prodding (and a couple of stuck fingers) this is what I retrieved from the wool pincushion.
 See the pins and needles I found? Several #8 crewel embroidery needles, one #10 crewel embroidery, and a few plain pins. Now I could refill my pincushion without wondering what was lost in the center.


One better way to use something (other than it's original use) was from a dental aid that my oral hygienist suggested that I use. The special little gadget (made by GUM) has a TINY pipe cleaner on the end of an adjustable plastic handle and comes in a cute little plastic box. It was time to throw out the gadget but I kept looking at the box thinking surely I could use it for something.....then I thought about my metal bodkins including my Pincher Bodkin (the third one down with the ring around it). I am always searching for them because they tend to disappear in my sewing stuff. Look how perfectly they fit in the box! Now I'll know exactly where they are when I need them.

Another odd but useful item are rubber gloves....you know, the ones for cleaning or washing dishes. Sometimes I'm using a long doll needle pulling thread or ribbons through pincushions and I just can't get a grip on the darned needle. There's no traction and the needle just won't budge. In comes the old, tired, ready-to-be-trashed rubbed glove. No, not the whole glove....just a part of it. I cut the cuff off of the glove and then cut that into small squares (about 1 1/2" square, see below). One little piece of rubber glove is absolutely perfect for gripping the needle and pulling it through the pincushion center.

So those are a few of my nifty ways of using items other than intended and surprise(s) from my pincushions. Do you have unique ways to use or re-purpose items?

Saturday, May 9, 2015

Workshop in Virginia Beach!

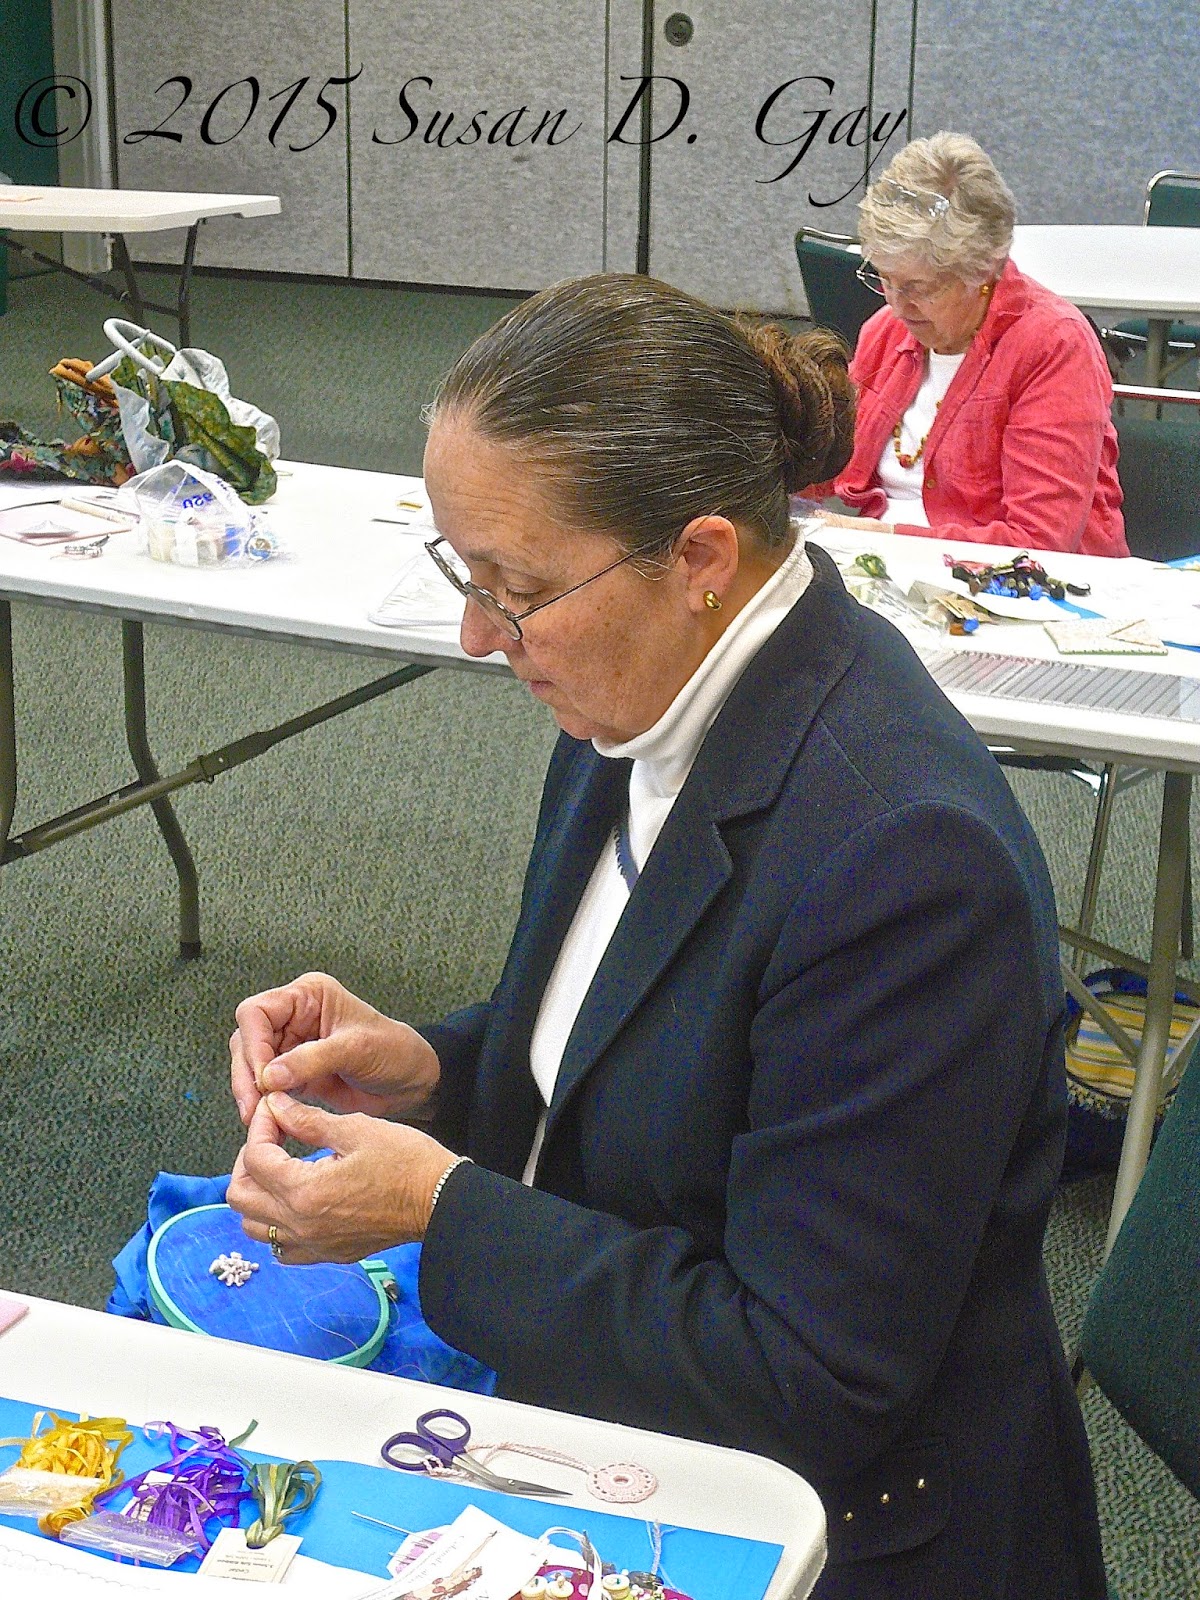
I thoroughly enjoy traveling around the country teaching workshops. It's a pleasure and a privilege to share my knowledge and techniques with people who enjoy the same things: stitching, sewing, needlework....the creative arts. I recently was able to travel to Virginia Beach to teach The Purse Reticule to a great group of ladies from the Seaside Smockers, a chapter of the Smocking Arts Guild of America (SAGA). Not only did we have a wonderful, incredibly lighted room at the Rescue Squad 14 building, but I also enjoyed staying in a great hotel right on the beach.
The project, pictured to the right, is full of silk ribbon embroidery flowers, beading, handmade silk dupioni (who doesn't love silk?), beautiful quilted fabrics with gold etching and lots of parts and pieces to put together. We spend two days working on it in class and the rest is accomplished at home with the pattern instructions.


Silk ribbon embroidery is so much fun to do! You get a lot of bang for your buck: not much effort for a beautiful result and it covers a lot of area. Here we're working in the hoop doing the flowers on the pincushion. There's an iris, a 5-loop flower and a spider web rose....all so pretty! Just like the flowers blooming in my garden. Even though we had great light in the classroom, extra lighting and magnification is always helpful.

The emery is filled with real, authentic emery powder to sharpen needles and pins. We embroider Wisteria on it, as you can see in this photo to the left. The flowers are made with silk ribbon loops in descending sizes going to the bottom of each stem. Then each loop flower is "crushed" with a single glass bead. That little bit of glimmer adds so much to the design. Take a look at the large classroom in the photo at the right. There's a lot of room for everyone!

We make cord out of stranded embroidery floss in two colors that match the fabrics in the kits. It's fun to do and a good break from working on the embroidery. We use the Spinster, held here in the photo to the right. One person works the Spinster and the other person holds the other end of the embroidery threads. The person turns and turns the handle of the Spinster until the cord is REALLY twisted. Then one person grabs the center of the twisted cord, and brings the two ends together without letting them go slack. The center is released to twist up on itself 12" at a time (with someone holding both of the ends together) until the entire length is twisted to form the beautiful cord. The ends are knotted together so they don't untwist. So simple, so pretty, and out of something as humble and inexpensive as stranded embroidery floss.

The workshop was fun doing what we all love to do and spending time together as friends and fellow needleworkers!


Wednesday, May 6, 2015

Pattern Weights

Every now and then I get a little nerdy....well, maybe more than that.

Sewing girls just want to have fun and that includes making something out of the ordinary, something just plain fun to do and totally different from fine, detailed sewing and stitching. And I get a kick out of making something out of scraps and relatively nothing. So, enter the Pattern Weight. I was fortunate to observe one of the ladies at my recent Workshop for the Seaside Smockers (a Smocking Arts Guild of America guild) in Virginia Beach. She laid out these pretty pattern weights to hold the paper pattern onto the silk for the Purse Reticule Outside Cover pattern piece. They immediately caught my eye because each was in a different color and my little antennae went up thinking "I could make those...so cute!". Now this isn't knocking pins. Pins are absolutely essential for laying out a pattern onto fabric, especially for a complicated pattern with lots of little pieces. And I have all kinds of pins. But every now and then pattern weights are a quick, easy and efficient way to lay out a pattern and cut it out. So off I went to the big box hardware store to find big, heavy metal washers....

I found the washers in the hardware aisle in bins. They're big, rough and heavy. Definitely have to be covered with fabric to keep the roughness from snagging delicate fabrics!
This is what they look like. They were the biggest ones I could find and are approximately 1 3/4 inches wide. The price was right at $0.46 each. This one was the smoothest one of the bunch. They're heavy enough for patterns and light weight fabric but you could easily double or triple them up to make a heavier single weight. And what's not to like about the price? Then I headed home to sort through my bias tape bag...


I knew I wanted different colors of tape so I gathered my supplies: weights, my bobbin box filled with different colors of thread for the tapes, scissors, and of course a needle from somewhere.

The best bias tape (holds the curves well) to use is the 1/2 inch wide SINGLE fold. Double fold is too thick and won't hug the curves well. Plain ribbon would not work since it has no real bias. If you have 1/4 inch double fold you can press it open to make the 1/2 inch single fold tape as in the photo to the right.  Thirty inches of bias tape is a good length for a single weight. Add more tape if the weights are doubled or tripled.

Next I selected several colors from my bias tape bag which revealed lots of choices from old projects, packages of tape from thrift stores, my mother's old sewing box assortment. I enjoy recycling those bits and pieces. I even had some bias strips that I could make into bias tape with my handy, dandy tape maker. This little gadget, available from fabric and notions stores in three different sizes, makes tape really easily. First cut your bias fabric strips the width recommended from your tape maker instructions. In this case it's 1" wide for 1/2" wide single fold tape.
I fed the bias into the tape maker with the wrong side up until it comes out the small end. The handle should be above the gadget. Then I pinned the end coming out of the tape maker to my ironing board and started sliding the tape maker to my left (I'm right handed). I slide the tape maker to the left and gently follow the folded bias coming out of the small end with the iron and Voila! I have single fold bias tape. Great little gadget!

The next gadget was a bodkin. I call it a Pincher Bodkin because of the way it works. One that would hold the fabric well so I could use it to thread the tape through the donut hole easily and quickly instead of using my fingers. This one pinches the fabric and is best used for wider casings, but it's perfect for this job, too.
I just grabbed and pinched one tape end and slid the little ring down towards the end to tighten the hold on the fabric and I was ready to go.


Then I wrapped a piece of the 30" of tape around the weight and held it with my fingers and started wrapping.
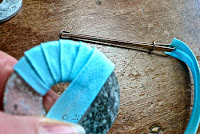
The wrap overlap is best if it's 1/2 the width of the tape.


When I covered the entire weight with fabric I trimmed the leftover bit at the outside edge of the weight which gives just enough fabric to turn under and stitch.


I turned the ends under to make a little point (but you could just make it straight) and stitched the ends down. You could even glue the ends down. I did find that stitching the ends down was a little awkward because of the angle, but it's just a weight and I'm not too concerned about precise stitching.

And here's the result of a couple of hours of fun.  Aren't these lovely? So functional, so colorful and a great way to use up scraps of bias and tape to make something sew useful! Why don't you make some for yourself, or a friend, and use up those bits and pieces of bias tape?