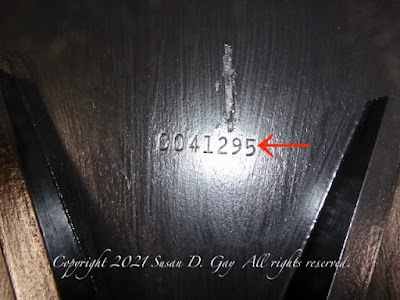
The painted black edges and underside of this wonderful vintage Singer Folding Sewing Table, circa 1947, are roughed up and need repair. So I began sanding it all with a fine sanding sponge: love those things! They "squish" to get into corners, and the diagonal edges get into the corners easily. So much easier to get the job done. Next I vacuumed it all down to remove the dust, then wiped it with a damp rag and let it dry. I originally thought I'd have to fill some nicks or deep scratches but found the surface okay after sanding. Glad one job was eliminated! The blog I'm using to do my restoration, "Refinishing a Vintage Featherweight Table" has been invaluable. I purchased the correct paint (Valspar Furniture Latex Paint in black satin) available at big box stores and a really good paint brush.
I painted the underside of the table top and insert first. It didn't take long. The paint goes on looking like flat, deep charcoal paint, but it dries very black and glossy. I let it dry for 24 hours. A couple of drips ran over the already sanded sides, so I had to re-sand those prior to painting them.
Then I flipped the top right side up. Some boxes helped to elevate it to make it easier to paint the edges. I thought I would use some blue painters tape to mask off the veneer edge from the black edges, but no luck: the tape pulled off some of the varnish on the veneer. (Maybe I should have refinished the veneered top??? But our son, Chris, said it had character and to leave it! That was my excuse to leave it.) So I had to very carefully run the paint brush down the rounded edge next to the veneer first, then paint the flat edge, one side at a time.There are two small brackets and screws that install on the left side of the insert opening that hold the insert in place, but after looking at them I decided they needed to be sanded and painted. I laid the brackets on the plastic container I painted washers on (hence the white rings) inside a box and punched the screws into the box flap. The Rustoleum spray paint is easy to use!
Next up on the restoration are the table legs.I can't wait to show you my finished project!!


No comments:
Post a Comment
Send me your comments and thoughts..I would love to hear from you!